

You finally clock out after a twelve-hour night, crawl into bed at 8 a.m., and then it starts. A garbage truck. A leaf blower. The neighbor’s dog. Your body is begging for sleep, but the world outside acts like it is the middle of the day, because it is.
Sound is one of the biggest reasons night shift nurses struggle to sleep during the day. Sunlight you can block with a curtain. Noise sneaks through every gap it can find.
This guide shows you how to soundproof a bedroom for day sleep, one step at a time, using materials you can grab from any hardware store or order online. You do not need tools you have never heard of, and you do not need to own your place. For every fix that involves drilling or permanent changes, I will give you a renter-safe swap that leaves no marks.
By the end, your room will be noticeably quieter. Not a recording studio, but quiet enough that a passing motorcycle stops yanking you out of deep sleep. The hands-on work takes about one afternoon. Grab a measuring tape, clear some space, and let’s make your room a place you can rest.
What You Need
- Foam or rubber weatherstripping tape
- Door sweep or weighted draft snake
- Removable acoustic sealant or caulk
- Heavy soundproof or blackout curtains
- Tension or mounted curtain rod
- Thick area rug
- Dense rug pad
- White noise machine
- Extra throw pillows and blankets
- Measuring tape, scissors, removable hooks
At a Glance: The 10 Steps
- Walk the room and find every noise gap
- Seal around the door frame with weatherstripping
- Block the gap under the door
- Seal the leaks around the window frame
- Hang heavy soundproof curtains
- Add soft mass to the shared wall
- Cover the floor with a rug and pad
- Fill hard, empty corners with soft goods
- Set up a white noise machine
- Test the room and fix weak spots
1. Walk the Room and Find Every Gap Letting Sound In
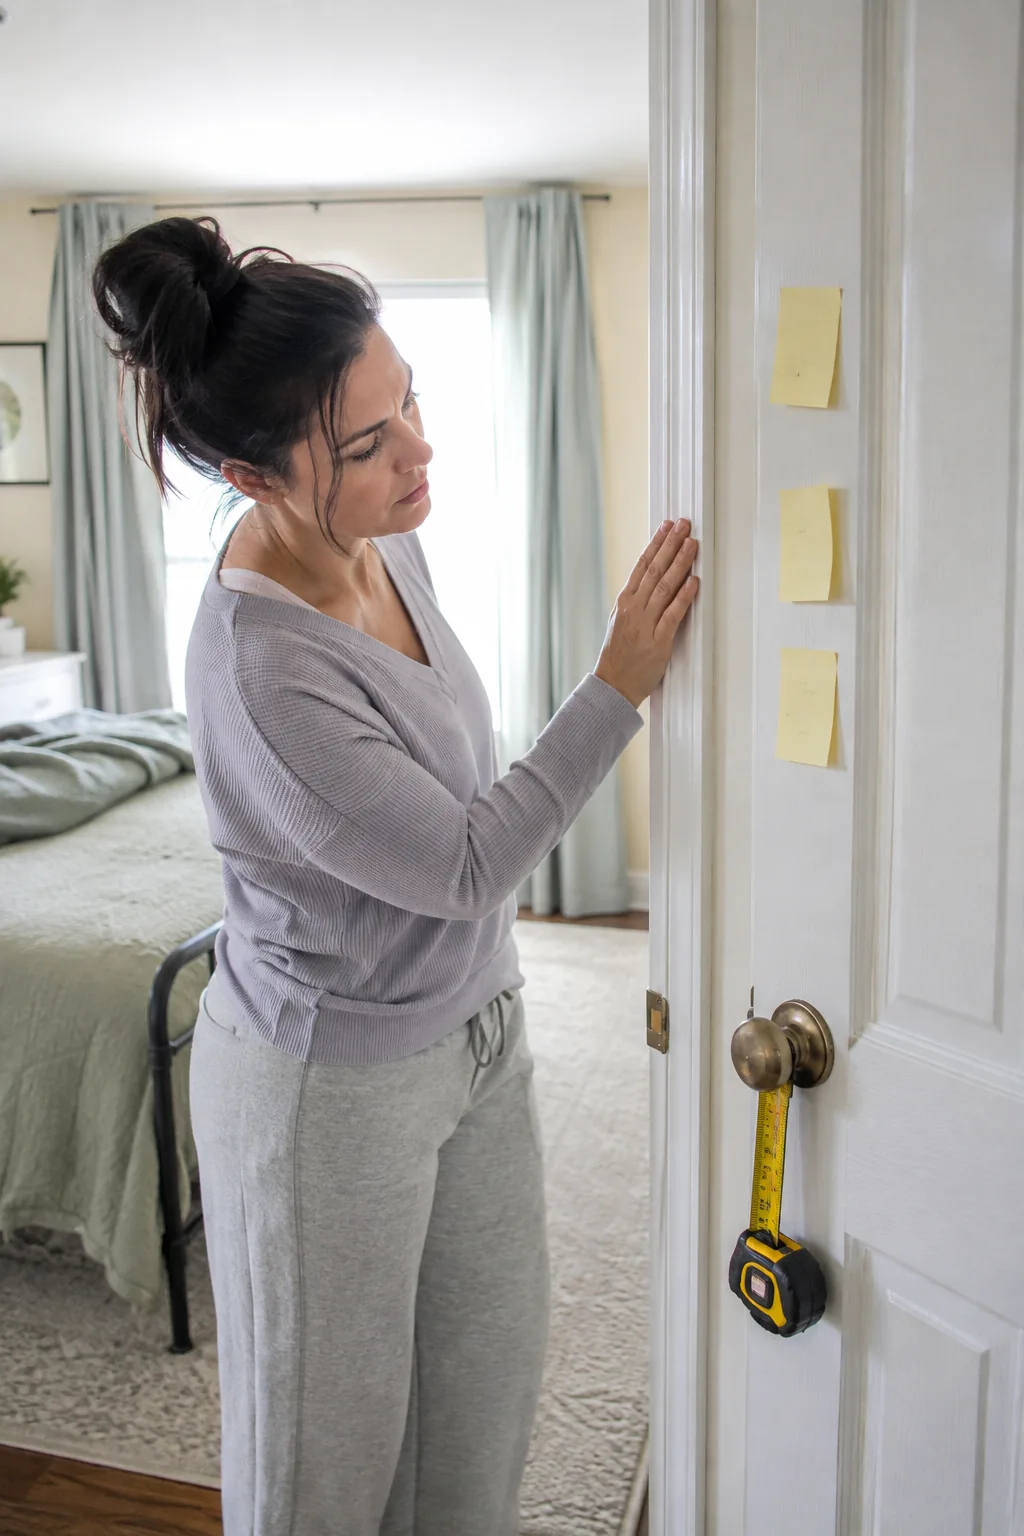
Sound behaves like water. It finds the smallest opening and pours through. Before you buy a single thing, spend 10 minutes finding where your room leaks noise.
Turn off the lights during the day and look for daylight sneaking in. Those bright lines are also your sound leaks. Check these four spots:
- The gaps around the door frame
- The space under the door
- The edges of the window and its frame
- Outlets and vents on any shared wall
Mark each leak with a sticky note so you know your targets before you shop.
2. Seal the Gaps Around Your Door Frame With Weatherstripping
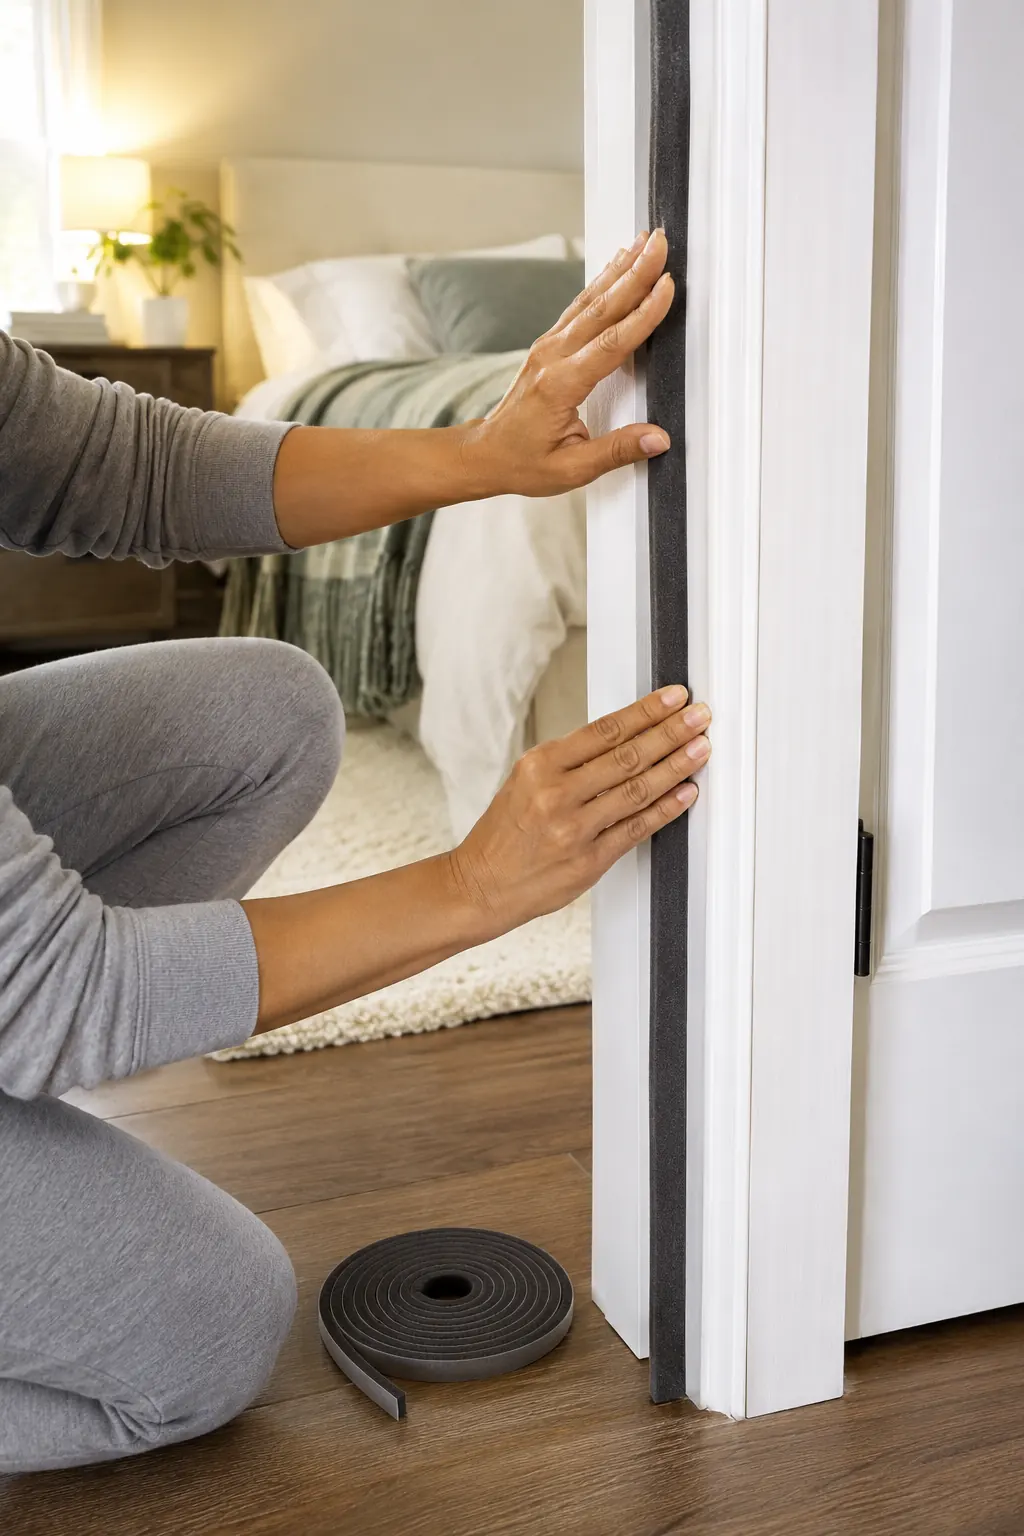
If your door rattles in its frame, or you can slide a finger into a gap wider than 1/8 inch, sound is pouring through that space. Weatherstripping closes it.
Run your hand around the frame first to feel for the drafts. Wipe the frame with a dry cloth so the tape sticks. Peel and press self-adhesive foam or rubber stripping along the top and both sides, pushing firmly as you go.
Close the door to check the fit. It should feel snug, with a little resistance. This one is renter-safe by default, since the foam peels off clean when you move out.
3. Block the Gap Under Your Door With a Sweep or Draft Snake
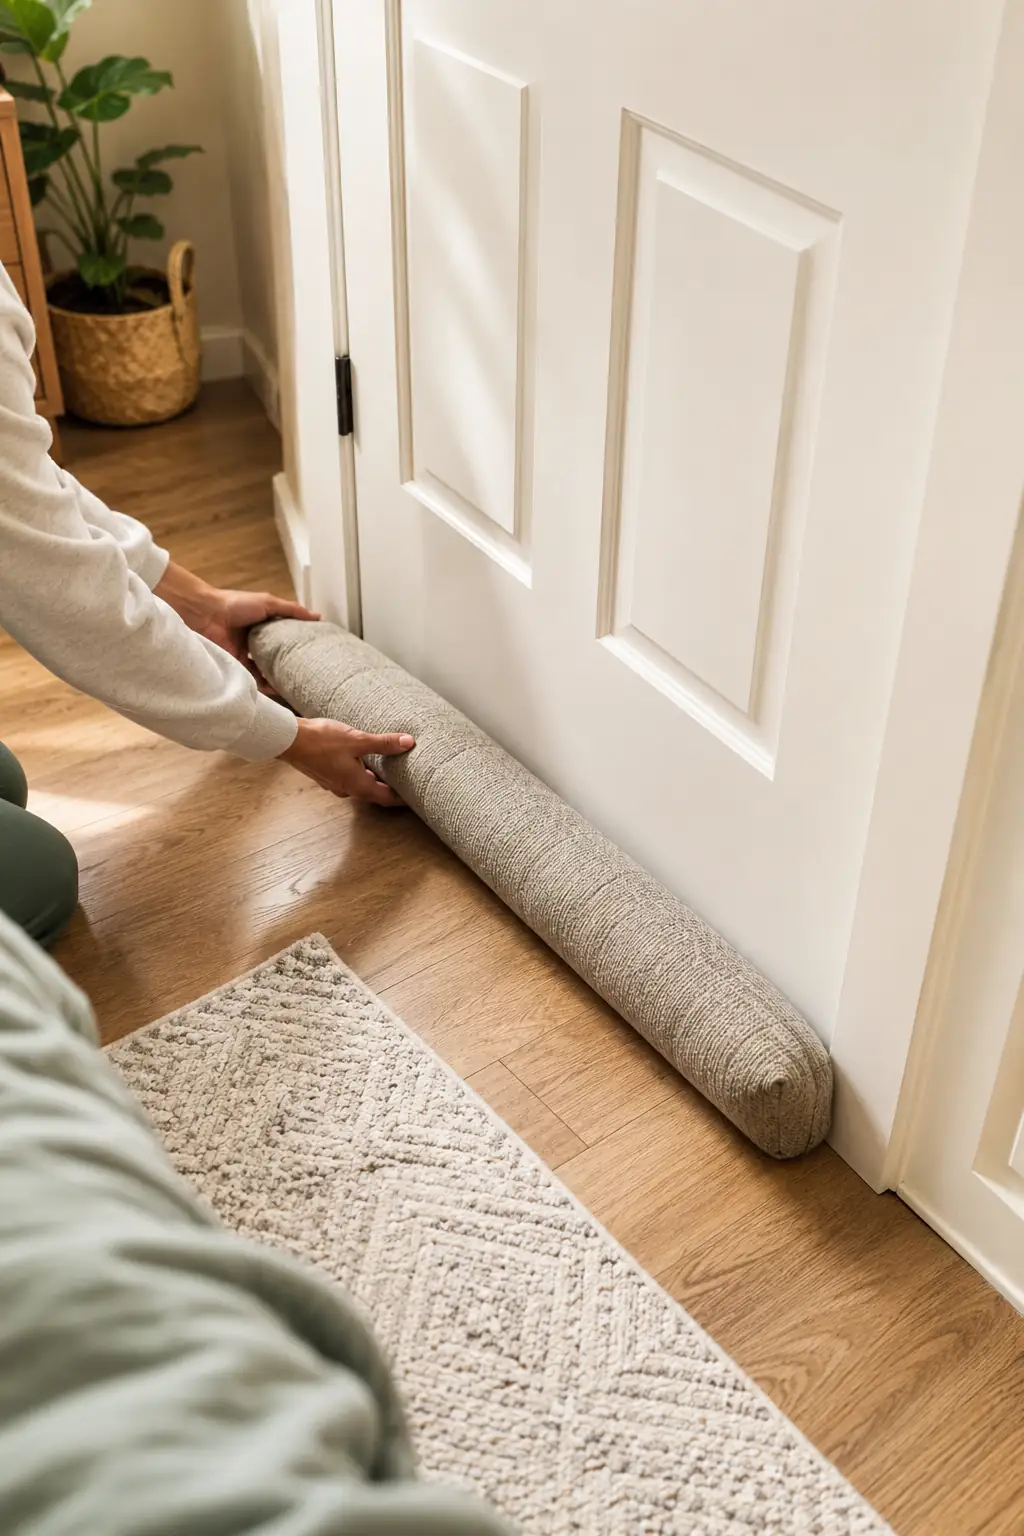
The biggest single opening in most bedrooms sits right under the door. A door sweep seals it.
Measure your door width, cut a stick-on or slide-on sweep to fit, and press or clip it to the bottom so the seal brushes the floor. No drill needed. Want zero contact with the door itself? A weighted draft snake laid against the base blocks nearly as much sound.
4. Seal the Leaks Around Your Window Frame
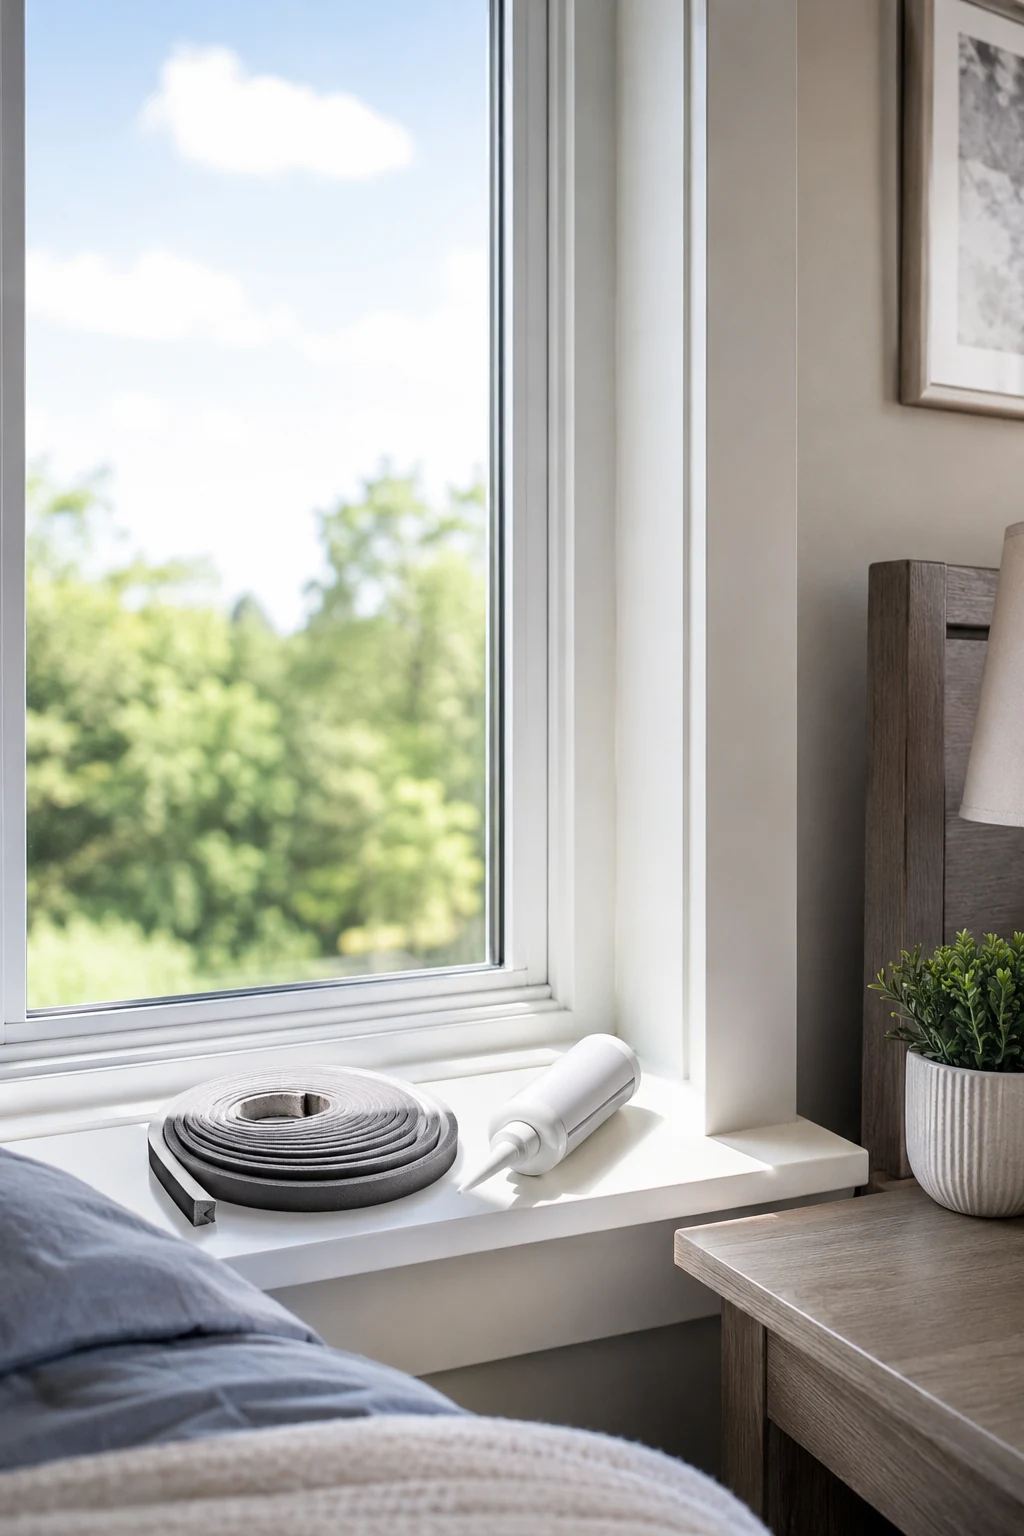
Three spots leak at a window: the frame edges, the sash where the two panes meet, and any crack in the caulk outside. Daytime traffic noise rides straight through all three.
Press removable weatherstripping along the sash where it closes. For gaps around the frame itself, run a bead of acoustic sealant, or use removable caulk strips that peel away later. Lock the window after sealing, since a locked sash presses tighter and blocks more sound than one resting loose.
⚠️ Heads Up
Do not seal a window shut permanently. You still need it to open for air and for fire safety. Use removable strips and caulk so the window works normally when you want it to, and check for trapped moisture on the glass, since a fully sealed window can build condensation.
5. Hang Heavy Soundproof Curtains Over the Window
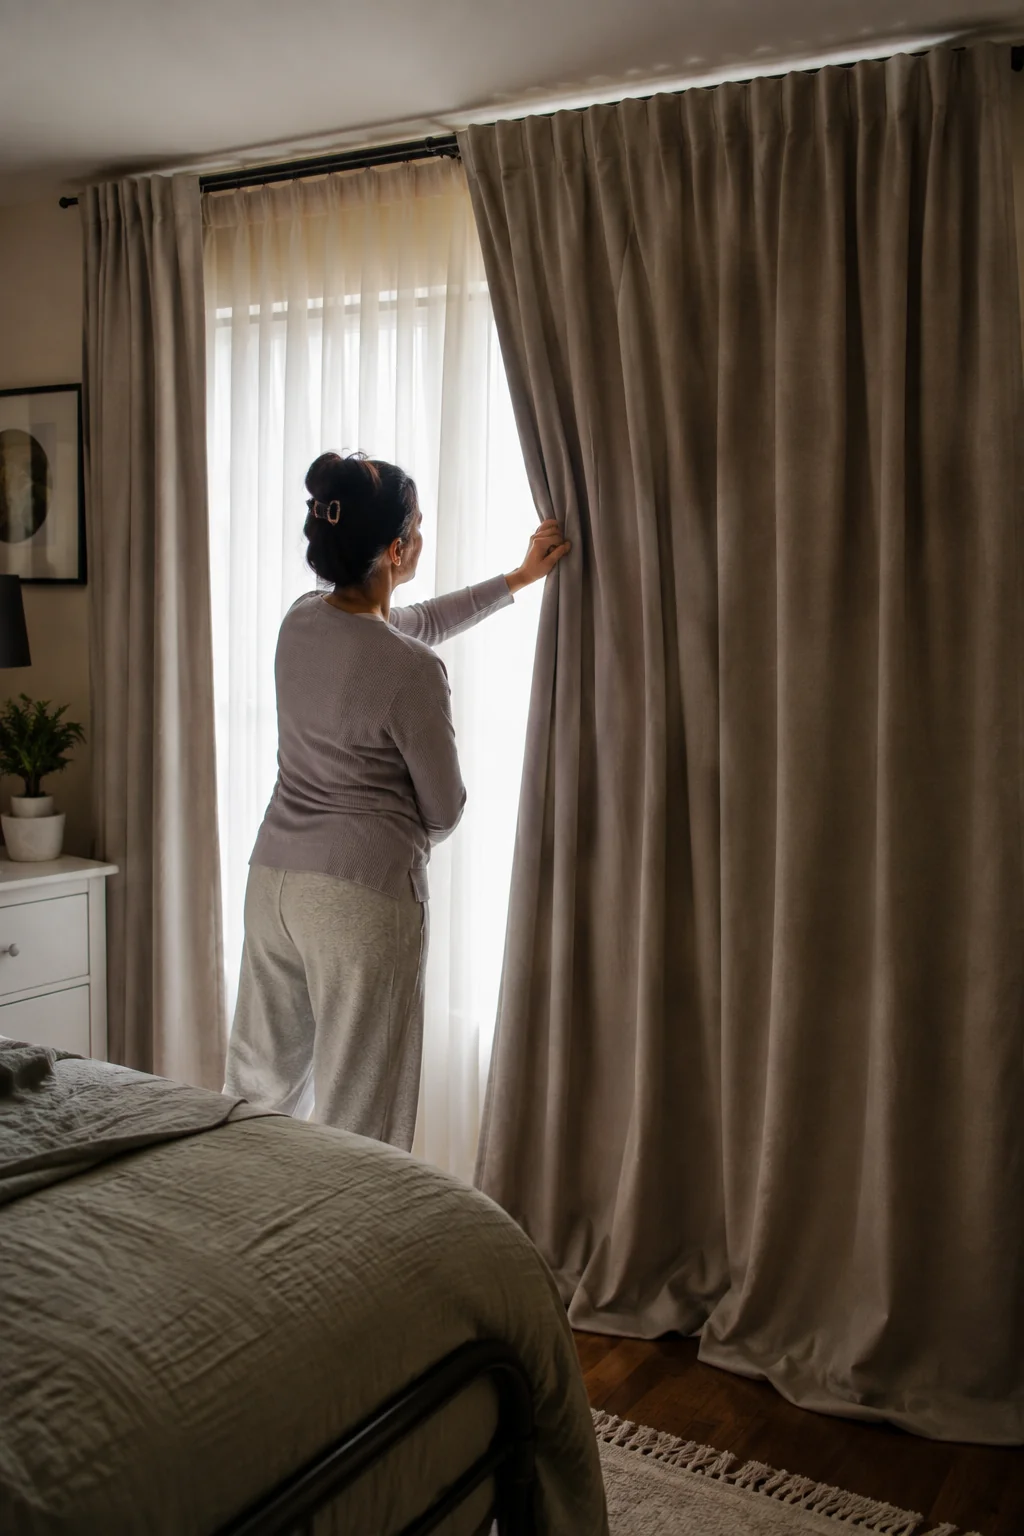
Ever notice how an empty room echoes? Thin blinds do nothing for sound. Heavy curtains add the mass that soft, muffled quiet needs.
Look for panels labeled soundproof or thermal, ideally around 3 pounds per panel or heavier. Hang the rod as high and wide as you can, so the fabric spills past the window on all sides. The curtain should puddle slightly on the floor and overlap in the middle, with no gap where light and sound slip through.
Renting and cannot drill? A tension rod inside the window frame holds light panels, and removable adhesive hooks handle a wider mounted rod without a single hole.
6. Add Soft Mass to the Wall You Share With Noise
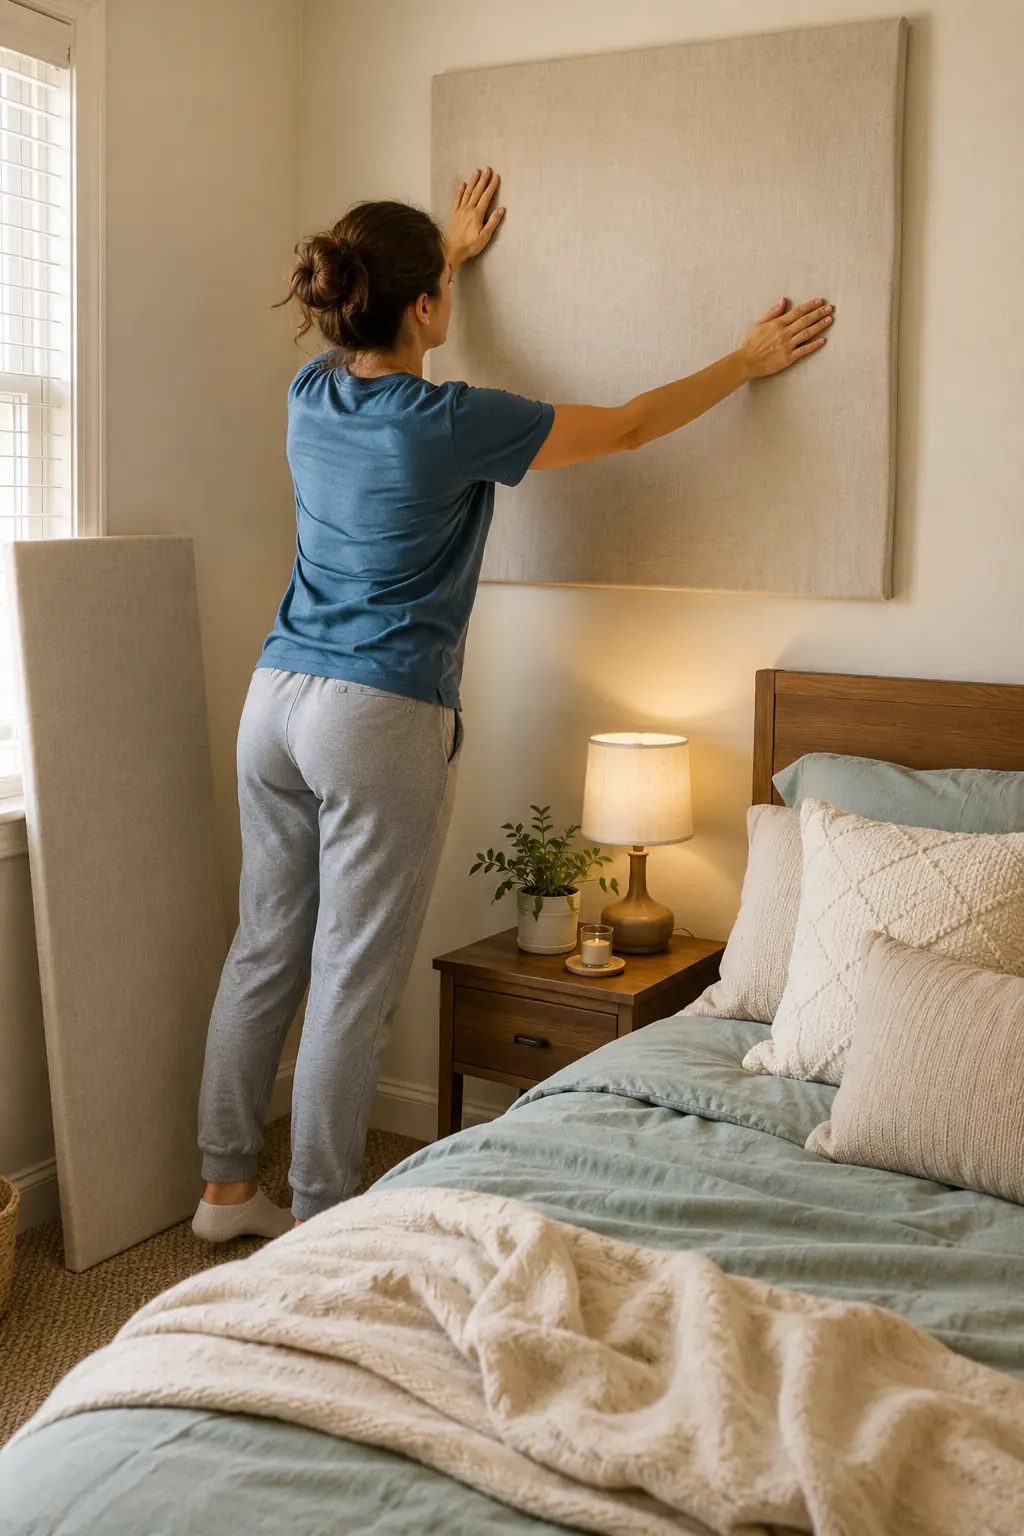
One wall usually carries most of your problem, the one against a hallway, a stairwell, or a noisy neighbor. Hard, bare drywall reflects sound straight back into the room.
Cover it with soft mass. A large fabric wall hanging, a quilted moving blanket on a rod, or a bookshelf packed tight with books all absorb sound before it reaches you. For a cleaner look, acoustic foam or fabric-wrapped panels mount flat against the wall.
💡 Pro Tip
Hang wall panels or foam with removable adhesive strips instead of nails. Press the strip to the panel, hold it to the wall for 30 seconds, and it holds for months yet peels off clean. Your deposit stays safe and the wall stays smooth.
7. Cover the Floor With a Thick Rug and Pad
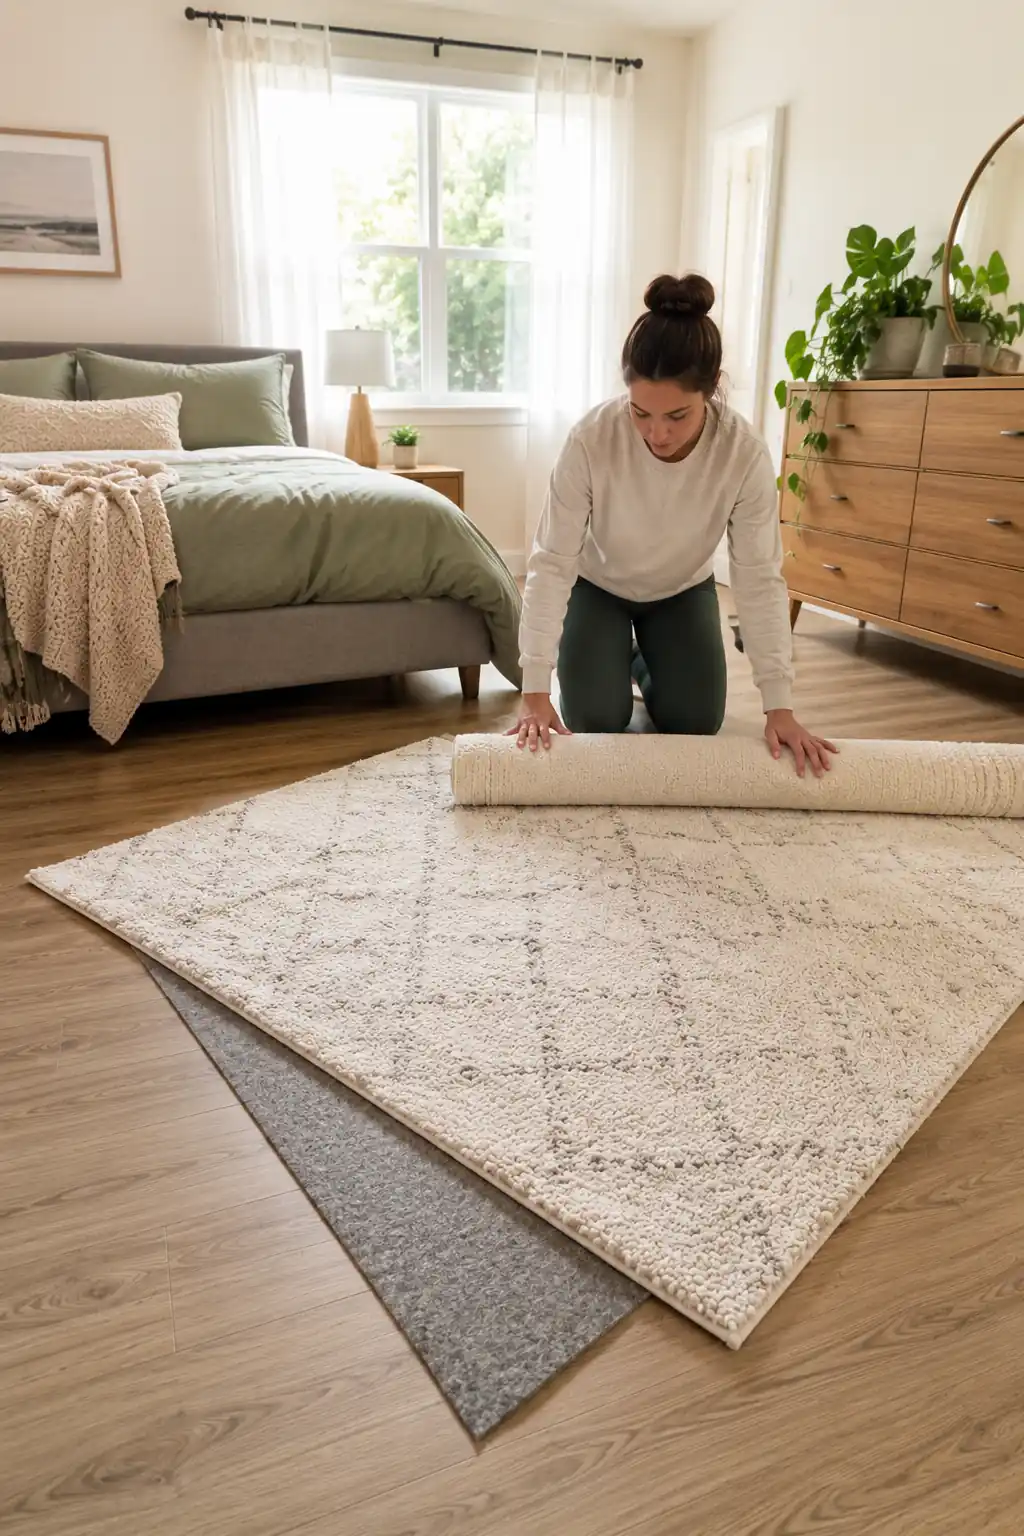
Bare floors bounce sound around a room, and hard floors over a downstairs neighbor let every footstep echo up. A thick rug kills both problems at once.
Pick a dense, high-pile rug and cover as much floor as you can, at least the area around and under your bed. The real trick sits underneath. A dense rug pad adds a soft layer that soaks up sound instead of reflecting it.
💡 Pro Tip
Do not skip the pad to save money. A rug alone slides and does little for noise. A thick felt or rubber pad is what actually absorbs the sound, and it protects the floor under a rental at the same time.
8. Fill Hard, Empty Corners With Soft Furnishings

Empty space is the enemy of a quiet room. Every bare, hard surface gives sound another place to bounce, which is why sparse rooms feel so echoey.
Soften the room with things you probably already own:
- Extra throw pillows piled on the bed
- A folded blanket over a chair or trunk
- An upholstered headboard behind your pillows
- A cloth laundry hamper instead of a plastic one
Aim to break up the flat, hard surfaces. The more soft material in the room, the less sound has to work with. If space is tight, the same thinking behind these small-space setups for nurses helps you fit it in.
9. Set Up a White Noise Machine to Mask What Is Left
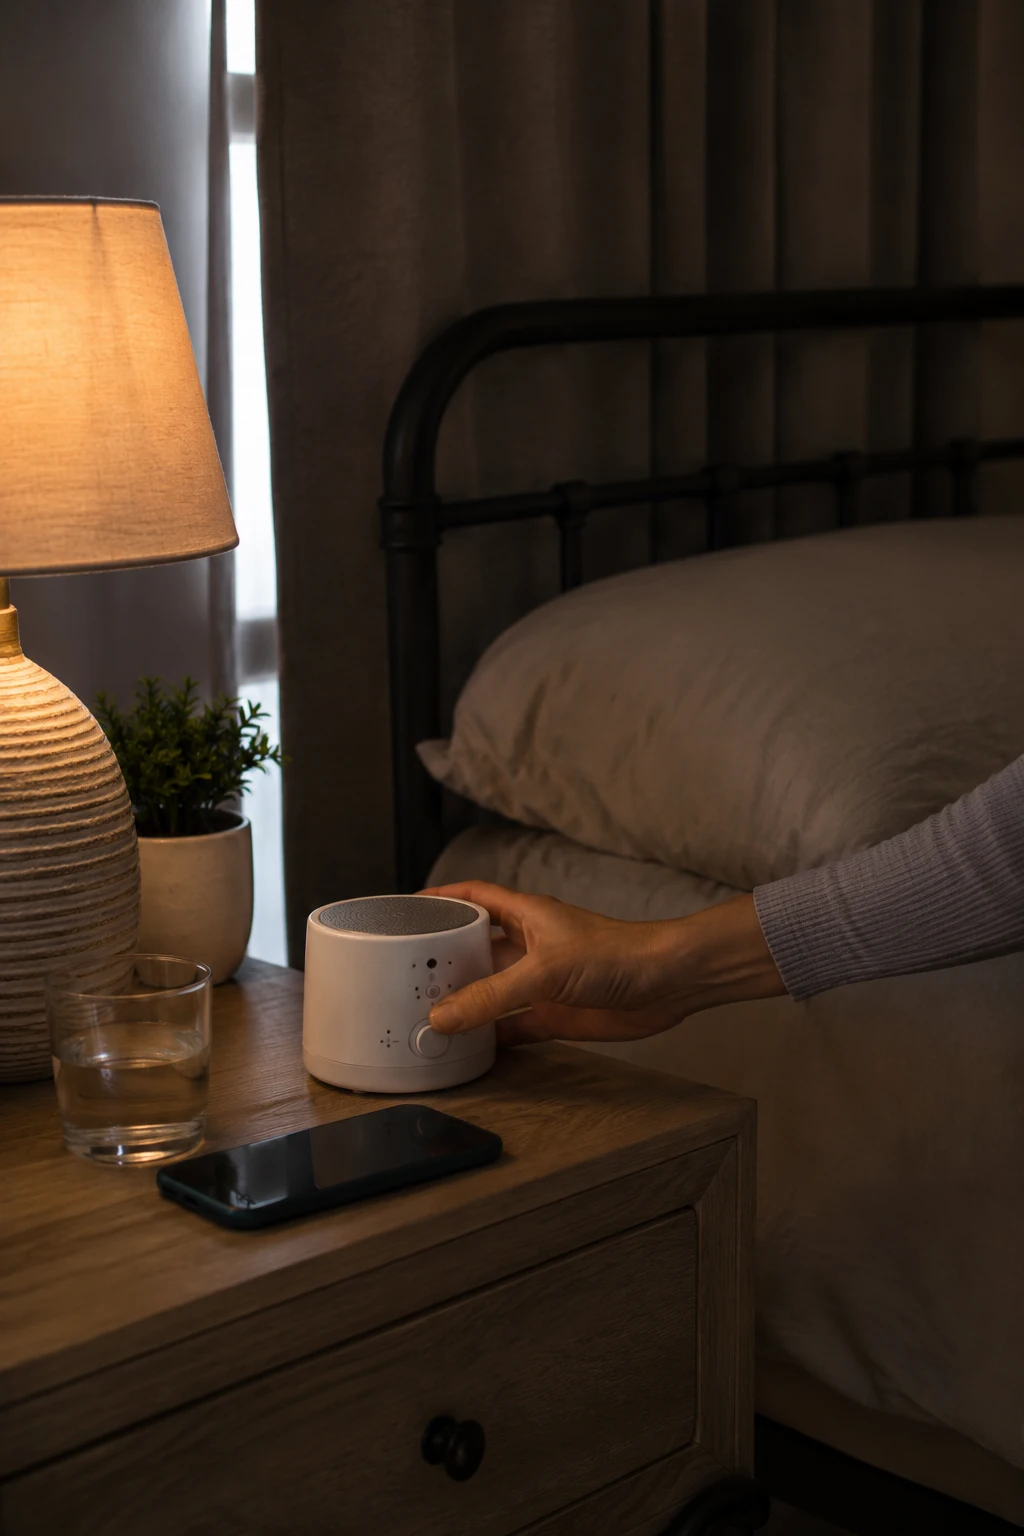
No room blocks every sound, so cover the rest with steady noise your brain can ignore. A white noise machine turns a sudden slamming door into part of a constant, even hum.
Place the machine between your bed and the loudest source, usually the door or window. Set the volume slightly above the noise you are trying to hide, no louder. Choose a steady tone like white or brown noise or a fan sound, since those mask sound better than music or ocean waves that rise and fall.
A phone app works fine to test before you buy. Keep the machine on a clear nightstand setup so it stays within easy reach.
10. Test the Room and Fine-Tune the Weak Spots

Wait for a genuinely loud moment to test your work, like afternoon traffic or trash pickup day. Lie on your bed with the lights off and listen for 2 to 3 minutes.
Notice where sound still leaks in. Follow it to its source and match it to a fix: a whistling window needs more sealing, a booming footstep overhead means more rug coverage, a sharp echo calls for more soft mass on the walls.
Make one change at a time, then test again. Soundproofing works in layers, and small gaps you missed on the first pass are usually the last thing standing between you and real daytime sleep.
| If This Happens | Try This |
|---|---|
| You still hear a high whistle from the window | A tiny gap is left in the seal. Run your hand along the sash on a windy day and add weatherstripping wherever you feel air move. |
| Footsteps from upstairs still boom through | Impact noise travels through the ceiling, not your walls. Add more rug and pad coverage below, and soft mass on the walls to cut the echo it creates. |
| The door still leaks sound after weatherstripping | Check the bottom gap. A hollow-core door also leaks through the panel itself, so hang a moving blanket or heavy curtain over it. |
| Voices carry straight through one wall | Find the thin spot and cover it with a packed bookshelf or a fabric panel. Check the outlets on that wall too, since they leak sound. |
| The room is quieter but you still wake up | Run a white noise machine all sleep long. Steady sound masks the sudden noises that no amount of sealing will fully stop. |
Frequently Asked Questions
Will any of this cost me my deposit?
No, if you stick to the renter-safe swaps. Foam weatherstripping, tension rods, removable hooks, and rug pads all come off clean and leave no marks.
Can I fully block out all sound?
Not completely. These steps reduce noise a lot and soften sudden sounds, but no rental bedroom becomes fully silent. Pairing the room fixes with a white noise machine gets you the closest.
What noise should I fix first?
Start with the door and window, since gaps around them leak the most sound for the least money and effort. Walls and floors come next.
Does soundproofing trap heat or moisture?
Sealing gaps can hold a little more heat in, which many day sleepers like. Open the window for fresh air between shifts, and watch the glass for condensation.
Do I really need the rug pad?
Yes. The pad, not the rug, does most of the sound absorbing. Skipping it is the single most common reason floors stay noisy.
Quick Reference Card
Save or print this cheat sheet before you start.
Grab These
- Weatherstripping tape
- Door sweep or draft snake
- Removable sealant
- Heavy soundproof curtains + rod
- Thick rug + dense pad
- White noise machine
- Removable hooks, tape measure, scissors
Do These in Order
- Find every noise gap
- Seal the door frame
- Block under the door
- Seal the window frame
- Hang heavy curtains
- Add soft mass to the shared wall
- Lay a rug and pad
- Fill hard corners with soft goods
- Set up white noise
- Test and fine-tune
Quiet Room, Real Sleep
You now know how to soundproof a bedroom for day sleep, one layer at a time. Your door and window are sealed, your walls and floor absorb sound instead of bouncing it, and white noise covers whatever slips past.
Give it a few days. Real rest after a night shift changes everything about how you feel.
Next up, block the daylight too, since dark and quiet work best together, and set up a calm decompression corner for the hour before bed.
Pin this to your night shift board so it is ready when you are set to make your room the quiet place you deserve.
